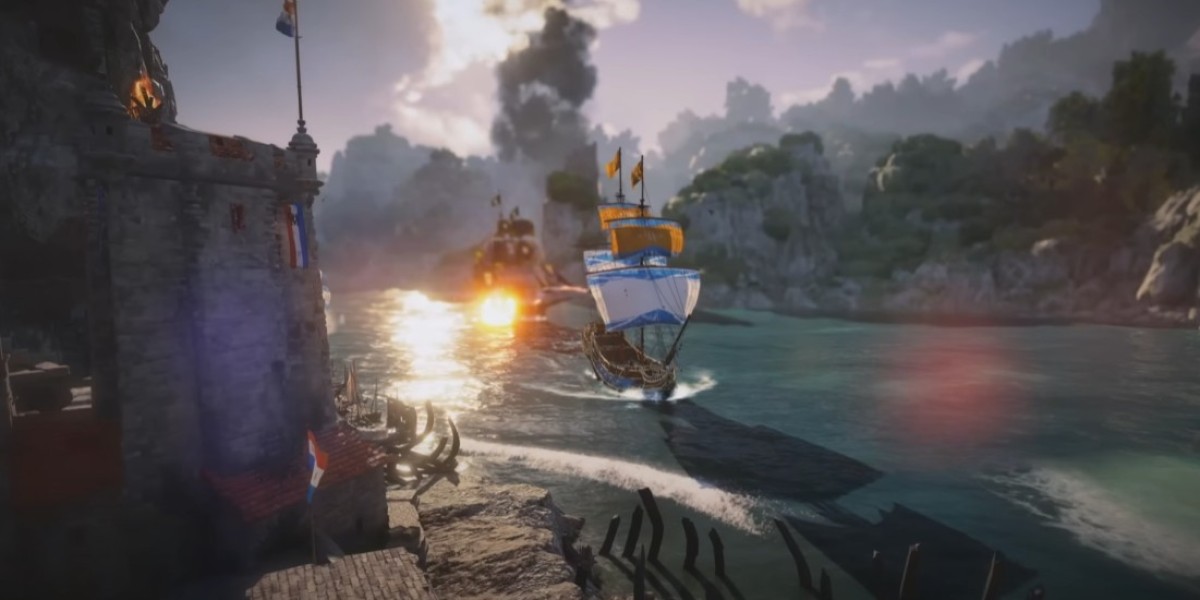
If you're looking for a ship build that absolutely annihilates forts and melts objectives in Skull and Bones, the Sambuk "Fort Buster" build is exactly what you need. This setup is designed around one core concept: stacking Ablaze and siege damage to produce absurd burning numbers, turning even the toughest ports into smoking ruins in seconds Skull and Bones Items.
This is not a PvP dueling build or a mobility-focused skirmisher. The Sambuk Fort Buster is a pure objective-destroying monster, ideal for plunders like Wolven Hall and other high-tier fort content. When built correctly, the damage ramps so quickly that forts barely have time to respond before collapsing.
Let's break down the ship, weapons, furniture, and gameplay strategy that make this build so devastating.
Why the Sambuk Is Perfect for Fort Busting
The Sambuk's unique perk is what makes this entire build possible. Nicknamed "Fort Buster" for good reason, its effect revolves around the Ablaze status:
Deals 5,000 burning damage when Ablaze is applied
Applies Ablaze to enemy shps or structures within a 150m radius
Increases damage to Ablaze targets by 30%
Ablaze deals 100% more damage, but lasts 50% shorter duration
Reduces fire weapon reload time by 12%
That reload bonus is crucial. This build fires constantly, procs burn repeatedly, and ramps damage higher the longer you stay locked onto a target. The faster you reload, the faster you reapply Ablaze-and that's where the insane damage numbers come from.
Weapon Loadout-Optimized for Fire, Siege, and Weak Points
Bow Weapon: Basilisk III Heavy Bronze Culverin
Up front, you're running the Basilisk III Heavy Bronze Culverin, a deadly mythic serpent-themed weapon designed to soften enemies for crew attacks.
Key stats and perks:
2,480 damage
Raider: +50% vulnerable charge rate
Piercing II
Incendiary
Siege
Deadly Strike
Deadly Strike is one of the strongest perks in the game. It gives shots a 10% chance to deal increased weak point damage, and even if you don't hit a weak point, it still increases weak point damage by 48%. Against forts-where weak points are everywhere-this is massive.
This weapon ensures you're constantly triggering Ablaze while boosting siege damage and vulnerability at the same time.
Port & Starboard: Urban's Great Gun
On both broadsides, you'll be using Urban's Great Gun, one of the most powerful siege cannons available.
Why Urban's Great Gun is perfect:
24,432 damage
Unison: All weapons in the same quadrant fire simultaneously
Incendiary
Siege
Severity
Unison is what pushes this build over the top. When you broadside a fort, every gun fires at once, stacking burn, siege damage, and weak point hits in a single devastating volley. This allows Ablaze to proc almost instantly and keeps damage numbers climbing every second.
Stern Weapon: La Peste Cartouche
For the rear slot, you're using the La Peste Cartouche, a Dutch-engineered marvel that fires explosive flares with delayed detonations.
Stats and perks:
3,564 damage
Impending Doom:
15% chance to inflict a delayed explosion
Deals 7,500 damage in a 65m radius after 4 seconds
100% chance when hitting weak points
Siege: +50% damage to structures
Incendiary
Amplified Explosive
Death Blow
This weapon excels at finishing off structures and spreading explosive damage across fortifications. Since forts are covered in weak points, Impending Doom procs constantly.
Auxiliary Weapon-Sustained Power and Reload Speed
Little Grace III
Your auxiliary choice is Little Grace III, a repair buoy that perfectly complements this build.
Why it matters:
Repairs 961 damage
Service Restorative: Removes severe damage
Empower:
Grants 3% weapon damage, stacking up to 5 times (15%)
Reduces reload time by 4.4%
This build revolves around reload speed. Sitting inside your Little Grace zone keeps you alive, boosts your damage, and lets you fire even faster. It's essential for long plunders where sustained pressure matters.
Armor-Straightforward Damage Boost
Nocturne's Heart
Your armor choice is Nocturne's Heart, rolled with Stout Maintenance.
Increases weapon damage while above 75% hull health
Grants 15% increased damage when conditions are met
This is easy to maintain thanks to Little Grace III, and the damage bonus applies to everything-burn, siege, and direct hits.
Furniture Setup-The True Damage Engine
This is where the build truly comes together.
Megaphone
Consecutive hits reduce reload time by 0.5%, stacking up to 15%
Resets after 10 seconds of no hits
You're constantly firing, so this stays maxed almost permanently.
Vat of Volatiles
Increases damage to structures by 15%
Simple, effective, and mandatory for fort plundering.Ramrod Workshop
Reduces broadside reload time by 7%
Increases secondary damage of broadside weapons by 7%
Perfect synergy with Urban's Great Gun.
Ammo Priming Bench
Siege weapons deal 20% more damage to structures
Siege weapons gain 4% overall weapon damage
Increases projectile speed by 10%
Repair weapons heal 7% more hull health
This single furniture piece buffs offense, defense, and consistency.
Fontaine Station I
Increases damage to structures by 12%
Bonus applies even without rockets equipped
Free damage with no downside.
Gunpowder Bench I
Increases damage to Ablaze enemies by 10%
Procs directly from Sambuk's Fort Buster effect
This stacks multiplicatively with your other Ablaze bonuses, pushing burn ticks into absurd territory.
Gameplay Demonstration-Wolven Hall Plunder
When taken into Wolven Hall, this build shines immediately. By focusing fire on the fort and continuously proccing Ablaze, damage ramps rapidly:
Early burn ticks: ~275,000
Mid-tier ramp: ~325,000
High-tier sustained damage: 400,000–600,000+ per tick
As long as you keep firing and reapplying burn, the damage never stops. You can ignore most smaller threats and focus entirely on the fort while other players deal with the Commodore.
Even when overwhelmed or eventually sunk, the fort often dies first-meaning you still win the plunder.
Playstyle Tips
Stay stationary when possible: This maximizes Little Grace uptime and reload speed
Focus weak points: Especially with La Peste Cartouche
Ignore small ships unless they're a threat-burn damage will often kill them passively
Keep firing: Stopping resets reload bonuses and burn stacking skull and bones boosting
Final Thoughts-One of the Best Fort Builds in Skull and Bones
The Sambuk "Fort Buster" build is one of the strongest PvE siege setups currently available in Skull and Bones. It turns plunders into short, explosive encounters and trivializes fort objectives when played correctly.
If your goal is farming ports, clearing plunders efficiently, or simply watching absurd damage numbers climb into the hundreds of thousands, this build delivers.


