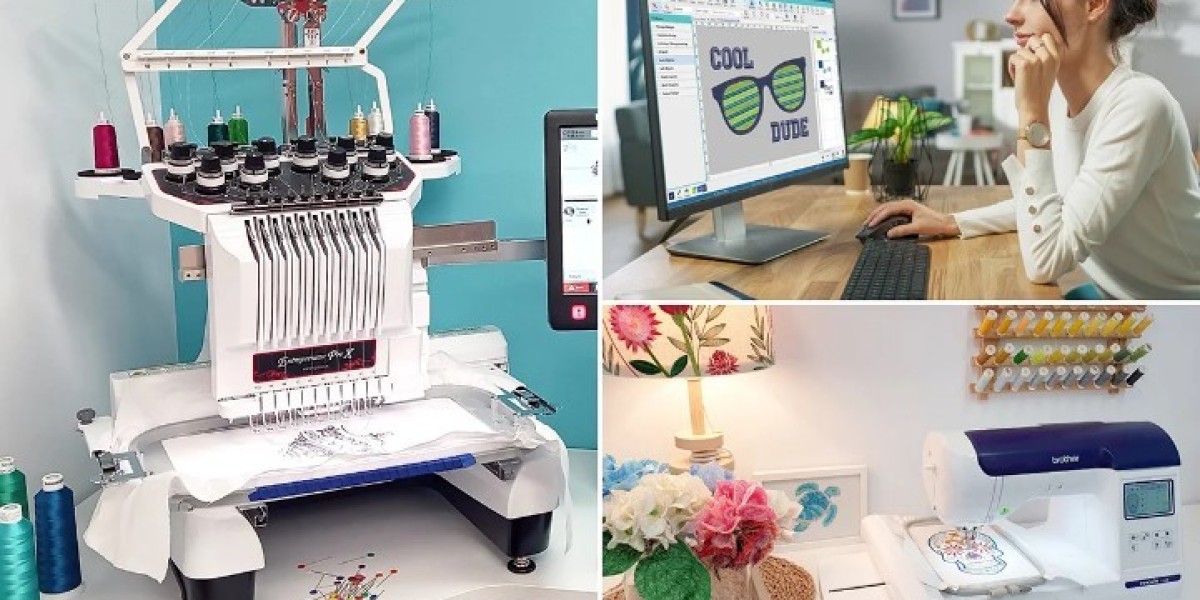
So, you’ve got a cool design—maybe a logo, a drawing, or a cute clipart—and you’re all fired up to stitch it onto a t-shirt, cap, or tote bag using your Brother embroidery machine. You load the image, hit “start,” and... nothing.
That’s because your embroidery machine doesn’t speak JPG, PNG, or SVG. It speaks PES.
If you’re new to machine embroidery, converting your artwork into the right format—especially PES—might feel intimidating. But don’t worry, we’ve got you covered! In this guide, you’ll learn how to convert image to PES format, what tools or services to use, and how to ensure your design is truly stitch-ready.
Want a done-for-you solution? Digitizing Buddy offers fast, affordable, and beginner-friendly image-to-PES conversion services—perfect for Brother and Babylock machines. Just send your image, and they’ll send you a perfect, machine-ready file.
What Is a PES File?
A PES file is a type of embroidery file format used primarily by Brother and Babylock embroidery machines. Unlike regular image files (like PNG or JPG), a PES file contains:
- Stitch instructions (where and how to stitch)
- Thread color information
- Stitch order
- Machine-readable commands
This file format tells your embroidery machine exactly how to recreate your image with thread.
Why You Can’t Just Upload a JPG or PNG
Let’s say you have a beautiful logo saved as a PNG file. That file is made up of pixels—not stitches. Your embroidery machine doesn’t understand pixel data. It needs vectors turned into stitch paths, stitch types, angles, and density settings.
That’s why you need to digitize the image first and convert it into a PES file.
Two Ways to Convert an Image to PES Format
You’ve got two main routes for image-to-PES conversion:
Option 1: Use a Professional Digitizing Service (Best for Beginners)
Option 2: Use Embroidery Software (DIY Option)
Option 1: Let a Pro Convert It for You (Recommended)
This is by far the easiest and most reliable option, especially if you're new to embroidery or just want a perfect result without a headache.
How It Works:
- Prepare your image (PNG, JPG, SVG, etc.)
- Go to Digitizing Buddy
- Upload your image and tell them:
- Your embroidery machine model (e.g., Brother PE800)
- Desired size (in inches or mm)
- Fabric type (t-shirt, hat, towel, etc.)
- Wait a few hours (most files are delivered same-day)
- Download your stitch-ready PES file, load it on your machine, and start stitching!
Why It’s Awesome:
- No learning curve
- No software needed
- Professional quality
- Edits and revisions included
- Fast turnaround
- Works for any image—even complex logos
If you're short on time or just want to avoid trial and error, services like Digitizing Buddy are a lifesaver.
Option 2: Convert with Embroidery Software (DIY)
Feeling adventurous? You can use digitizing software to convert your image yourself.
Popular Software Options:
- SewArt (Beginner-friendly, paid)
- Wilcom Hatch Embroidery (Professional, paid)
- Inkscape + Ink/Stitch plugin (Free but advanced)
- Embird or SewWhat-Pro (Intermediate tools)
Step-by-Step DIY Process:
Step 1: Import Your Image
Open your chosen software and upload your image (PNG, JPG, SVG, etc.)
Step 2: Clean and Trace the Image
Use the software to remove backgrounds, clean up edges, and trace outlines. Vector-style images work best.
Step 3: Assign Stitch Types
Decide where to use satin stitches, fill stitches, or run stitches based on the design’s elements.
Step 4: Adjust Stitch Properties
This includes:
- Stitch angle
- Density
- Underlay stitching
- Pull compensation
This is where beginners often get stuck—setting the wrong stitch type or density can ruin the outcome.
Step 5: Set Thread Colors and Sequence
Assign color stops and determine the order your machine should stitch each section.
Step 6: Export as PES File
Once everything’s digitized, export the file as .PES and save it to a USB or your machine’s interface.
Pros of DIY:
- Full control over design
- Great learning experience
- No outsourcing needed
Cons:
- Steep learning curve
- Time-consuming
- Easy to make mistakes
- Software can be expensive
Which Method Should You Choose?
Need | Best Option |
You're a beginner | Hire a pro (e.g., Digitizing Buddy) |
You need perfect stitching fast | Hire a pro |
You want to learn digitizing long-term | Use software |
You have free time and patience | Try DIY |
Tips to Get the Best PES File Results
Whether you go DIY or use a service, these tips will help:
1. Start with High-Quality Artwork
Avoid blurry or low-res images. Vector designs or large, clear images give better results.
2. Know Your Final Size
Always tell your digitizer (or set in software) the exact dimensions you want. Size affects stitch density and type.
3. Specify Fabric Type
Different fabrics (e.g., stretch vs. canvas) need different digitizing settings to avoid puckering or distortion.
4. Test Stitch First
Before stitching your final piece, always test the file on a scrap to make sure the result looks good.
5. Use Stabilizers Properly
Use cut-away, tear-away, or water-soluble stabilizers depending on your project. Stabilizers make a huge difference in stitch quality.
FAQs About Image to PES Conversion
Can I just rename a PNG to PES?
Nope. That won't work. PES is a completely different file format that contains stitch commands—not image data.
Can Brother embroidery machines use other formats?
Mostly no. Brother machines need PES files. Some models might read PHC or DST, but PES is safest.
How long does image to PES conversion take?
If you use Digitizing Buddy, you'll typically get your PES file within 4–12 hours, sometimes faster.
What’s the best format to send for digitizing?
PNG, JPG, SVG, PDF, or even hand-drawn sketches can work. Vector files are easiest, but pros can digitize almost anything.
How much does it cost to convert an image to PES?
Professional digitizing usually costs $10–$30, depending on design complexity. Simple logos are cheaper; detailed artwork costs more.
Final Thoughts: Get Your Image Machine-Ready the Smart Way
Embroidery machines are amazing, but they’re picky when it comes to file formats. That awesome logo or drawing you made? It won’t stitch properly until it’s been digitized and converted to PES format.
