Managing your cryptocurrency securely starts with using trusted tools. Trezor.io/start is the official platform to set up your Trezor hardware wallet and install Trezor Suite on your device. If you are a Mac user, this guide will walk you through each step of installing Trezor Suite on MacOS, ensuring your digital assets remain safe and under your complete control.
Why Use Trezor.io/start?
The Trezor.io/start page is the official starting point for all new Trezor users. It provides verified instructions, software downloads, and firmware updates straight from Trezor, the leading name in crypto hardware security.
By following the steps at Trezor.io/start, you ensure that you are using legitimate software—protecting your crypto from phishing, malware, or counterfeit downloads. The page also guides you through wallet creation, device setup, and backup procedures.
Step 1: Visit the Official Setup Page
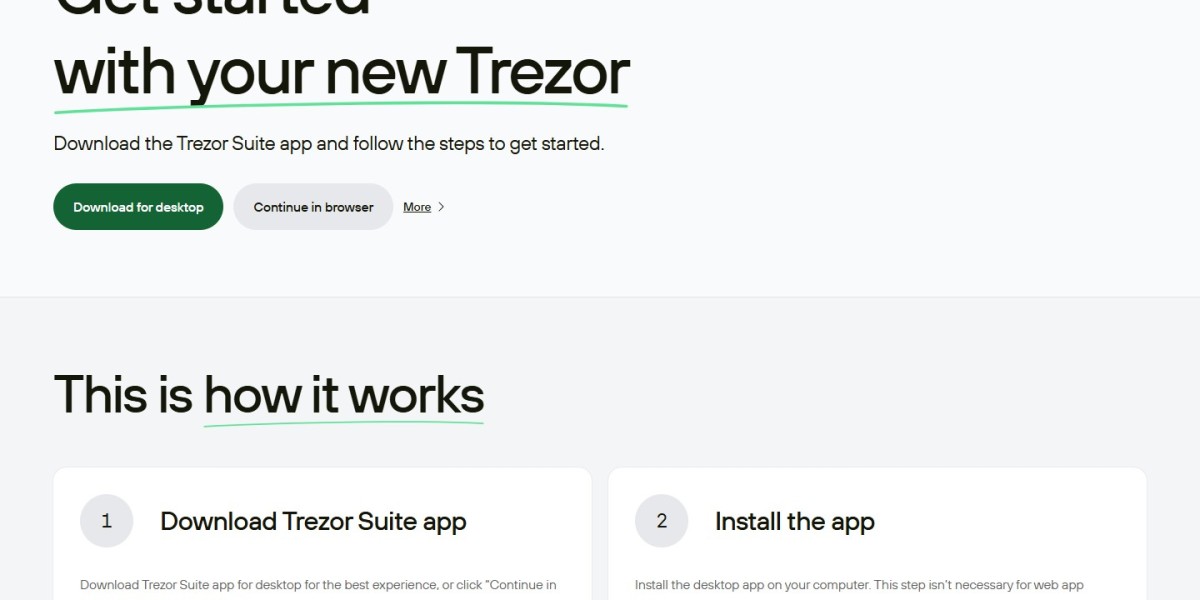
Start by opening your web browser and typing Trezor.io/start. This link will redirect you to Trezor’s secure official setup portal.
Here, you can choose your Trezor model—Trezor Model One or Trezor Model T—and access model-specific setup instructions.
Always verify that the website URL is spelled correctly and has the secure padlock icon to avoid fraudulent sites.
Step 2: Download Trezor Suite for MacOS
Once you’re on the setup page, click the Download for MacOS button.
Trezor Suite is a desktop application designed for managing your crypto portfolio. It allows you to send, receive, and store multiple cryptocurrencies securely while keeping your private keys offline on your hardware wallet.
After downloading, open the installation file (.dmg) and drag the Trezor Suite icon to your Applications folder. This step installs the application on your Mac system safely.
Step 3: Connect Your Trezor Device
Connect your Trezor hardware wallet to your Mac using the USB cable provided.
Once connected, open Trezor Suite. The software will automatically detect your device and prompt you to install the latest firmware if required. Always allow firmware updates directly through Trezor Suite to ensure you’re using the most secure version.
Step 4: Set Up and Secure Your Wallet
When you open Trezor Suite for the first time, you’ll be guided through setting up your wallet. Follow these on-screen instructions carefully:
Create a new wallet or recover an existing one using your recovery seed.
Backup your recovery seed on paper and store it offline in a secure location. Never share it digitally.
Set a strong PIN to protect unauthorized access.
These steps are vital for keeping your crypto assets safe even if your device is lost or stolen.
Step 5: Manage Your Crypto Portfolio
After setup, you can begin using Trezor Suite to send, receive, and manage various cryptocurrencies like Bitcoin, Ethereum, and more.
The dashboard gives you a clear overview of your holdings and transaction history.
You can also enable features like Tor connectivity for enhanced privacy and price tracking for market insights—all within a user-friendly interface.
Final Thoughts
Using Trezor.io/start (Official) ensures that your hardware wallet setup and software installation are completely secure. For MacOS users, the installation process is straightforward, efficient, and designed to provide the highest level of protection for your digital assets.
Always remember: only use the official Trezor.io/start link for downloads and setup to keep your cryptocurrency safe and under your control.