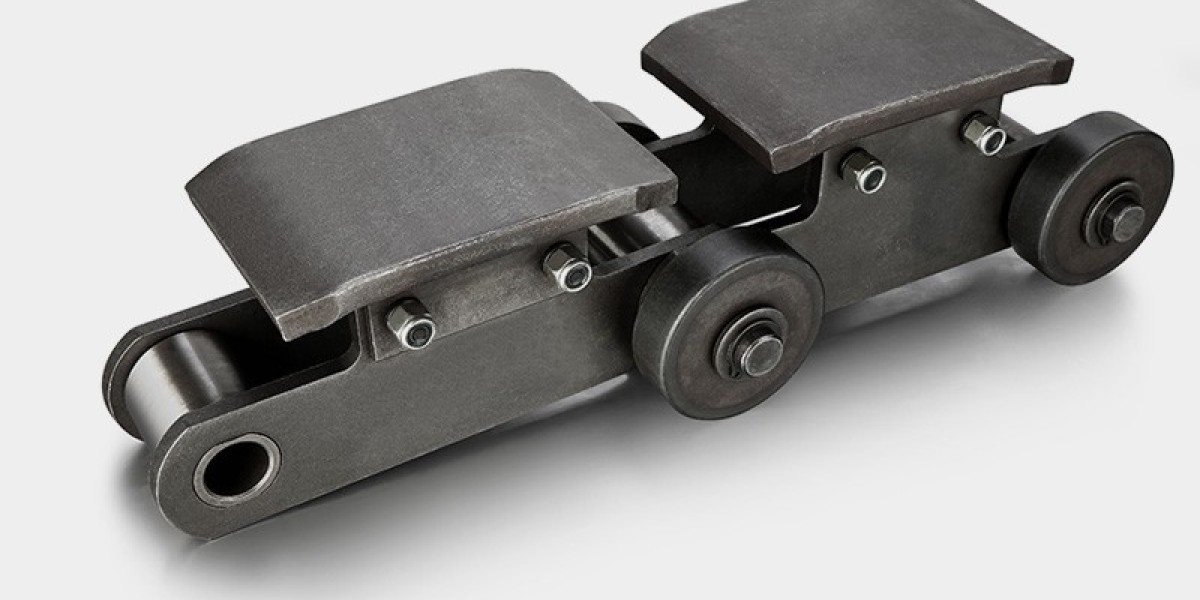
While exchanging a conveyor chain can seem like a daunting task, in the hands of the right instructions, you can do it simply by yourself. This article will describe how to change a conveyor chain in five simple steps. These tips will help you to save both time and money when it comes to maintaining your conveyor system.

Procedures For Conveyor Chain Replacement
To initiate this process, firstly, you must collect all the necessary tools. Tools required to change a conveyor chain is a wrench, sometimes pliers, and a new conveyor chain of the correct size for ths system. Before proceeding, ensure that power to the conveyor system is shut off.
And then, remove the old conveyor chain. Use your wrench to loosen the bolts holding the chain in place. With the bolts removed, the old chain can be gently removed and set aside.
On goes the new conveyor chain. First, set the new chain on the observatory system, and make sure line shaft that attaches to the sprockets properly. Let the chain links meet and use the pliers to deal with them.
Once the new chain is on, you can tighten the bolts to keep it from moving. Check that the chain is neither too loose nor too tight – it needs just a little slack for it to slide along the track properly.
And finally re-energize your conveyor and test your new chain. Check that it moves freely, with no issues with the installation. Bonus, you are now chain conveyor free.
Save Time and Money with This DIY Conveyor Chain Replacement Guide:
These easy steps can save you the cost of calling a pro to replace your conveyor chain. With this trolley, you will not only save on the labor costs but also ensure that your conveyor system is running in no time.
Simple tricks to make the conveyor chains change go smoothly:
Before ordering a replacement, be certain to measure the worn chain to guarantee you will be the proper length.
Once you install it, make sure to do it quite slowly and don't make mistakes, because it can frag the system.
Inspect your conveyor chain regularly for wear and tear so it can be replaced as needed to prevent any unexpected breakdowns.
Five simple steps to the effective maintenance and replacement of conveyor chains
All year round, check conveyor chains for wear: missing links, rust.
So keeping the conveyor belt production line makes for less friction, and ultimately, a longer-lasting chain.
If you are experiencing skipping or jumping on the chain, it may be time to replace the chain.
Check out our step-by-step on chain replacement to make sure the installation goes smoothly.
Before returning your conveyor system to normal operation, test the new chain to confirm it is functioning properly.
Follow this expert advice if you want DIY conveyor chain replacement success:
With this knowledge and proper tools you will be able to replace a conveyor chain on your own. Freeing up time and money and ensuring your conveyor belt line is running nice and smooth with our quick and easy guide. And if you ever run into trouble, just reach out to our Ocean team for expert guidance and support. Happy DIY-ing.